|
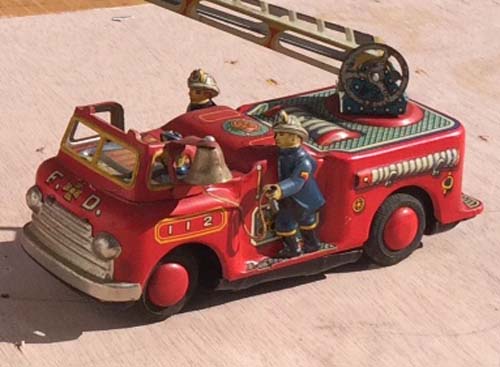
Japanese toys from the 1950's always catch my
eye. This fire engine is no exception. Three tin lithoed
firemen are at the ready, speeding to whatever challenge is ahead of
them. This being a ladder truck made my day.
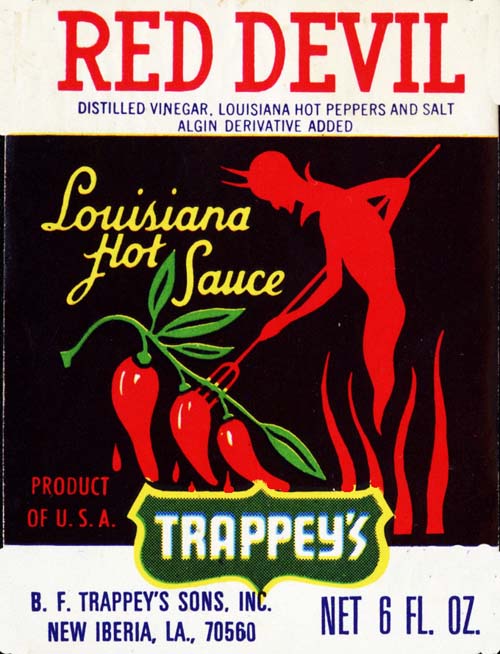
This vintage hot sauce label came from a 6 ounce bottle, but
I'm going to redesign it to go on a large can.
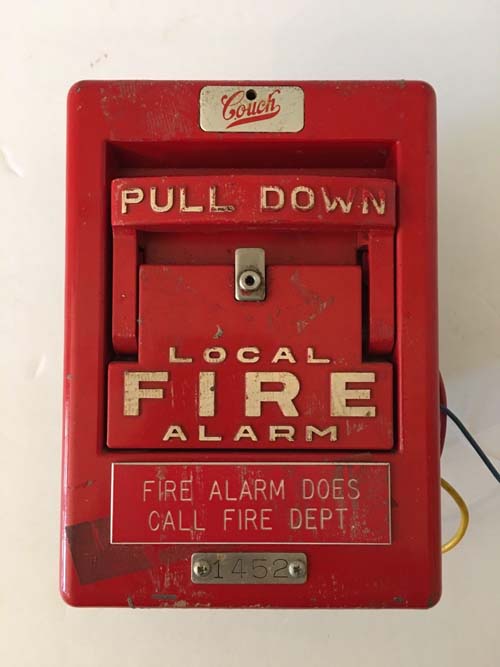
I also purchased this Couch fire alarm box to help tell my
story in this painting. This is the type of unit that I would
see most often at school.
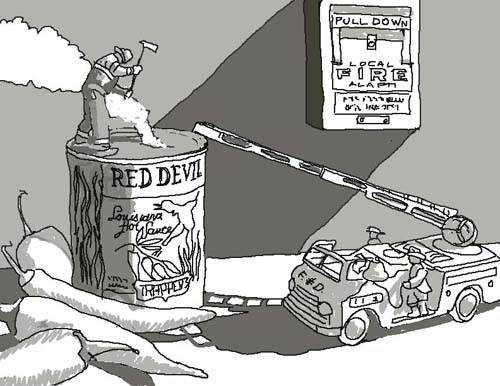
Here is the sketch for
"Canned Heat." After climbing the ladder to the
top of this can of hot sauce, this fireman wields his axe to the
'roof' of the can, letting the heat and smoke escape.
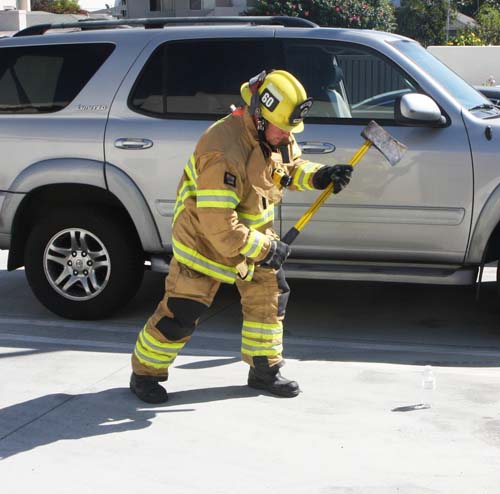
My long time good friend, John, agreed to pose for this
painting. John's not only a friend and great golfer, he's an
engineer with the Orange County Fire Authority. He suited
up in the station parking lot in between calls and we got a
great pose for the top of the can. Thanks Johnny!
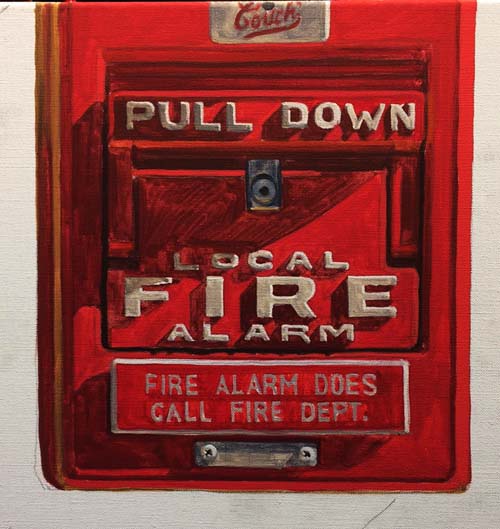
I am starting this painting on the
background. Here I've painted in the fire alarm. The high
lighting provides this object with some interesting shadows.
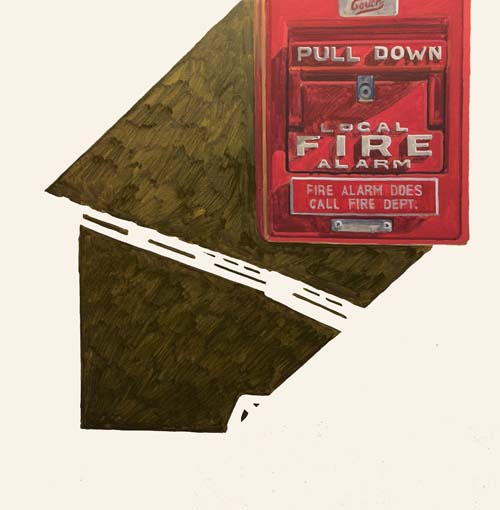
With a mixture of thalo green, burnt
sienna and cadmium yellow, I applied a thin wash (mixed with
turpentine) into the cast shadow on the wall.
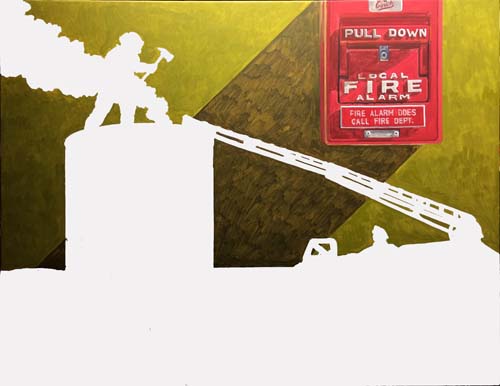
Next, I scrubbed in the wall color.
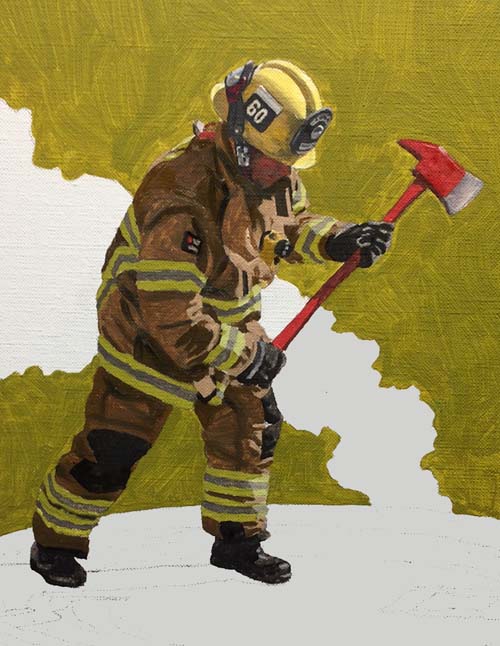
I've applied the first layer of
pigment onto John, detailing his uniform from top to bottom.
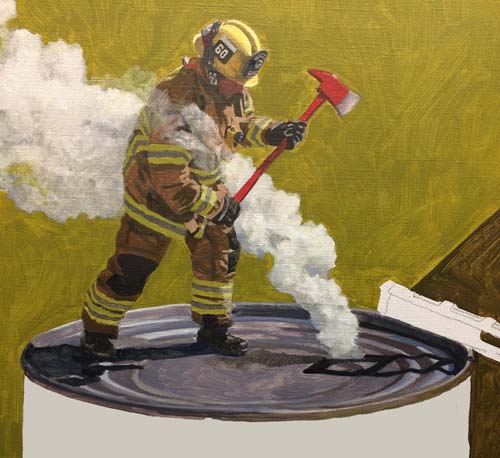
In this photo, you can see that I've
modeled the smoke and detailed the metal top of the can.
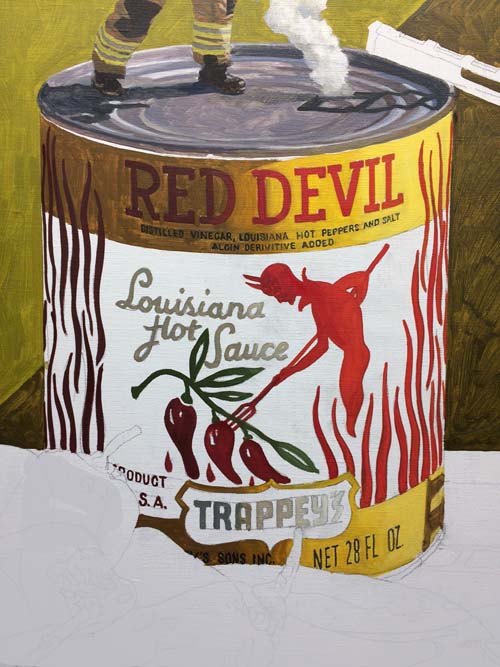
Now, I'm working on the hot sauce can
label. At
this point, I've blocked in all the colors except the black.
Notice that I've altered each color from dark (left side) to
light (right side).
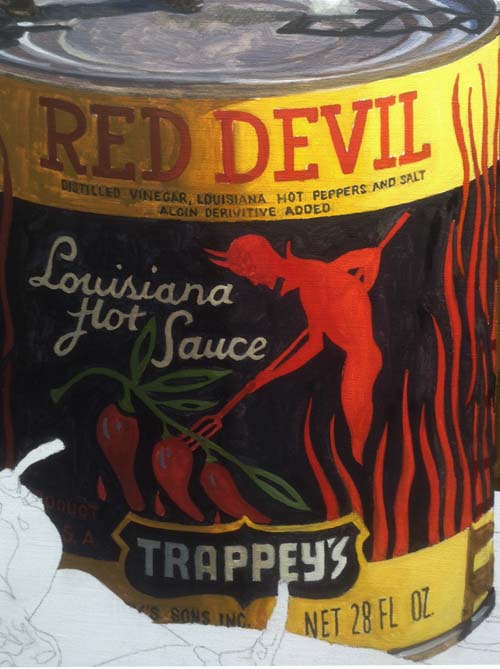
The black areas make all the other
colors pop. It creates the contrast in the label design that the
artist intended to help catch the eye of grocery shoppers long
ago.
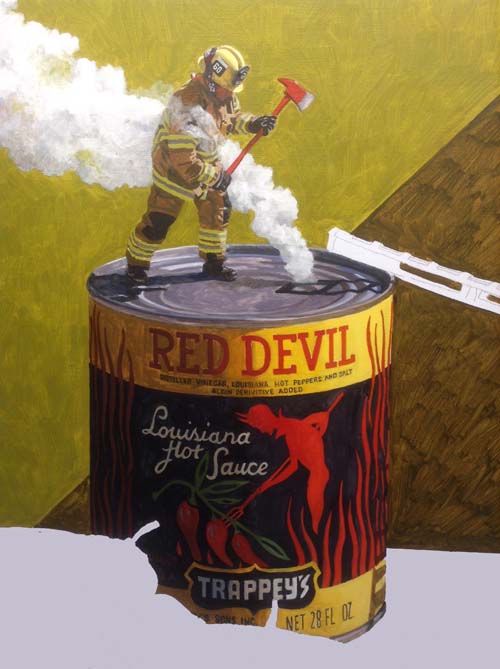
Here is the can completed with its
first passage of thinned down oil paint. It's hard to see the
difference in light and dark within the black areas, so the
lighter colors define this on their own.
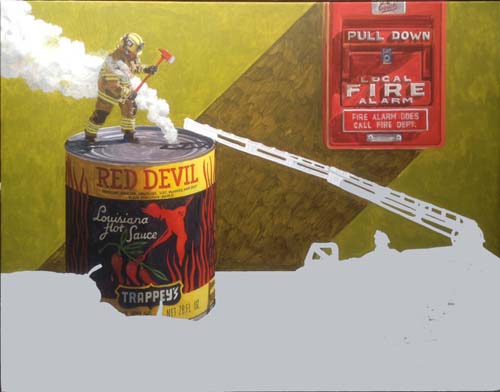
Here's a look at the entire canvas to this point.
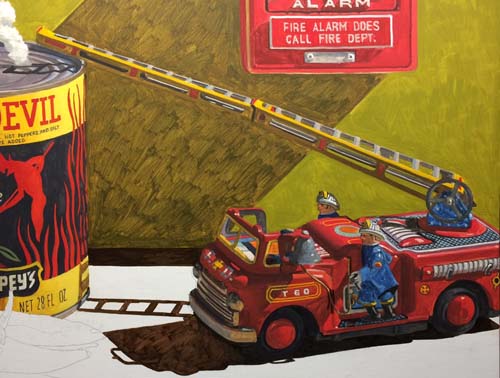
I've rendered the toy fire truck. It's
a little rough, but I'll tighten it up with the final layer of
paint.
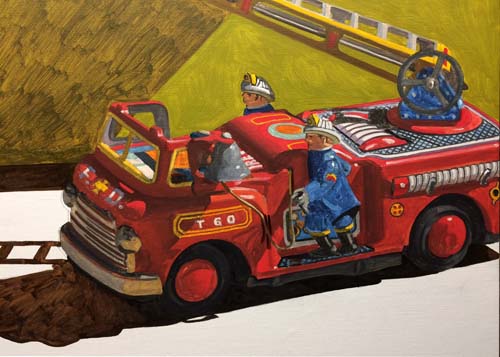
Here's a closer look at the fire truck. Notice that I changed
the number on the truck to reflect the fire station that John
has on his helmet.
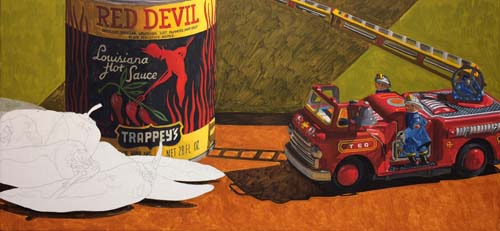
I mixed burnt sienna, yellow and a
little ultramarine blue to get the hue for the ground.
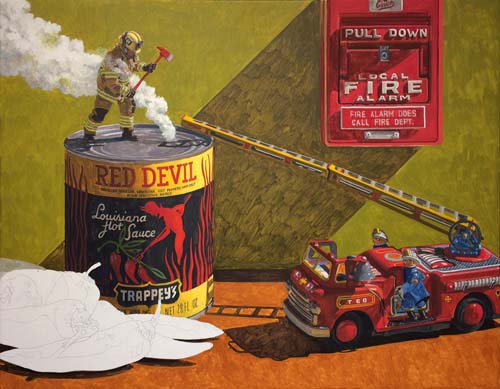
You can see the entire canvas so far.
Just the peppers need to be painted before applying the final coat
of paint.
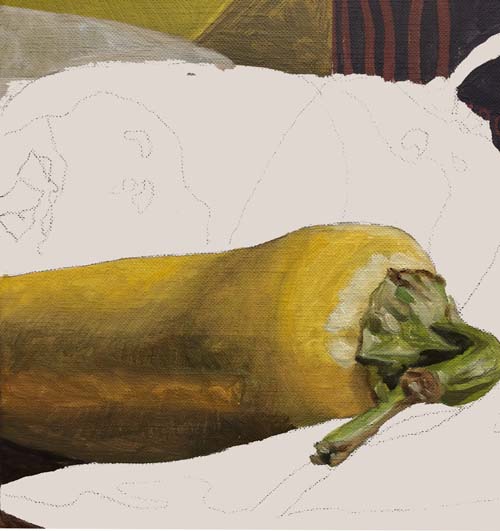
Here's the yellow pepper. It's nice to have something organic in
an image and the peppers provide that.
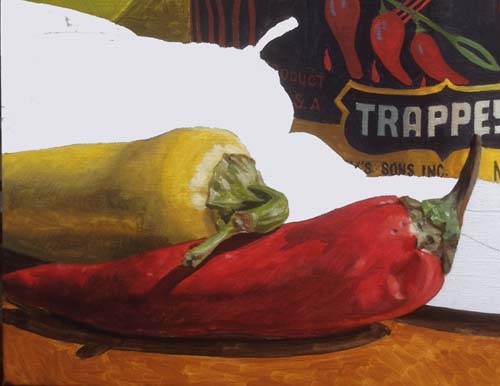
One more pepper done.
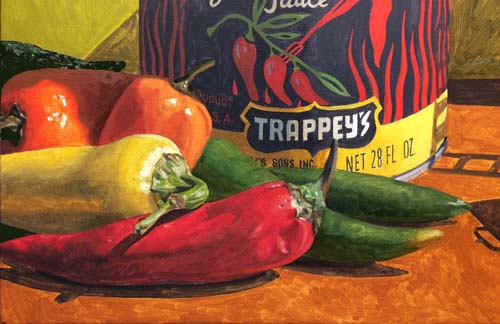
This closeup shows the peppers with
the thin layer of oil pigment.
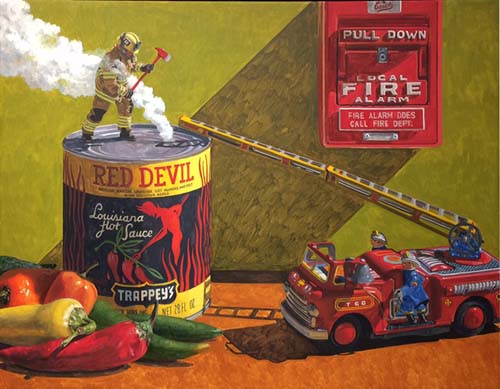
I'm halfway through the painting. All areas of the canvas have
one layer of paint. Some areas are a little rough, but will
tighten up with the final layer of paint.
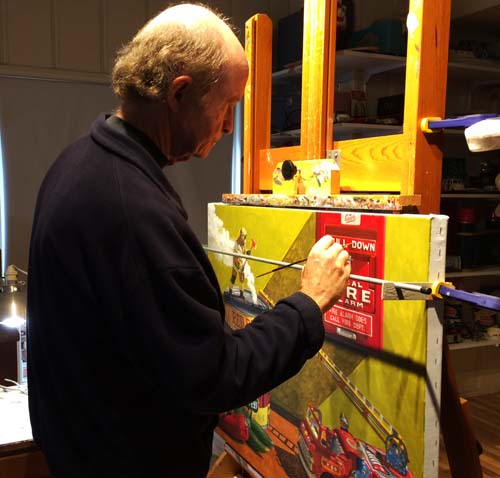
I'm recovering from shoulder surgery
and unable to lift my left arm to the canvas to assist my
painting hand, so I devised this simple support to help steady
my right hand when painting delicate detail. I didn't realize
how much I used my left hand when I painted.
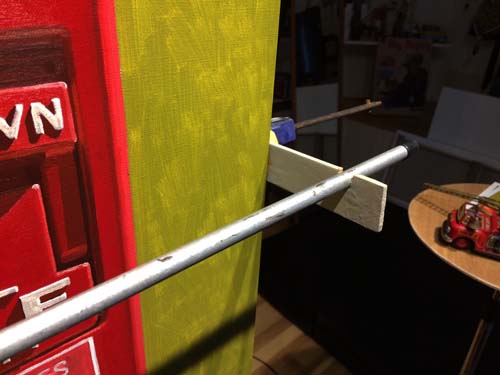
This photo shows the support that is
attached to my canvas stretcher bar. I used a wooden stir stick
from the paint store and cut a notch in it.
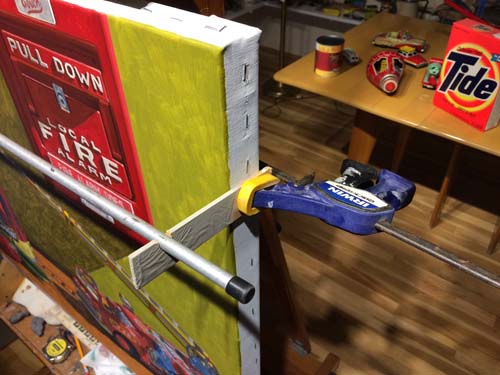
This angle shows the clamp that I have
on both sides of the canvas to hold the notched wooden piece
securely.
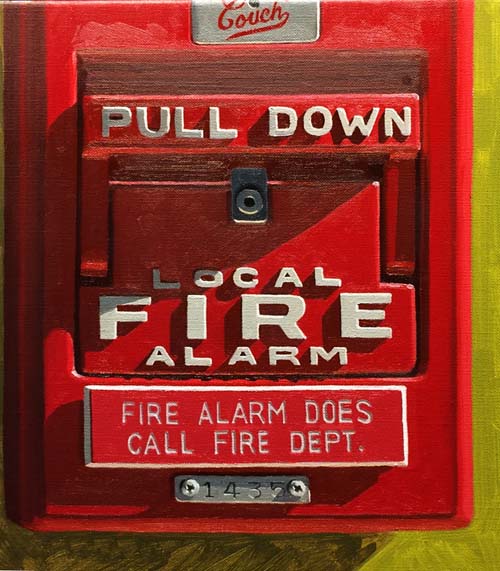
With the help of the support rod, I was able to continue
painting the detail needed with this second and final layer of
oil paint on the wall fire alarm.
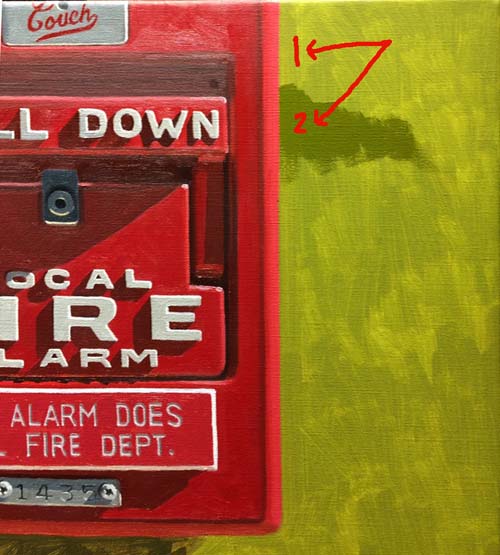
This next step is one of the most
important steps in this image. When looking at the overall
painting up to this point, I've determined that the back wall
isn't dark enough to help highlight the light struck areas of
the fireman and the fire alarm. In the photo above, I've mixed a
darker green (#2) and placed it along side of the fire alarm and
see that this is just dark enough to make the right edge of the
alarm pop with the increased value of the darker green. It's
quite a bit darker than the first layer of paint, and it will
force me to darken other areas to make this painting read
correctly.
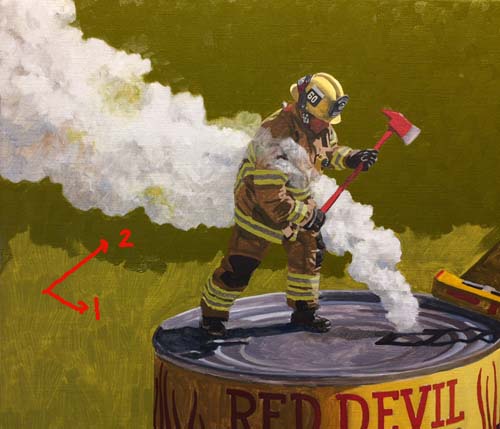
This photo shows the drastic
difference in values between the first layer (#1) and the second
layer (#2).
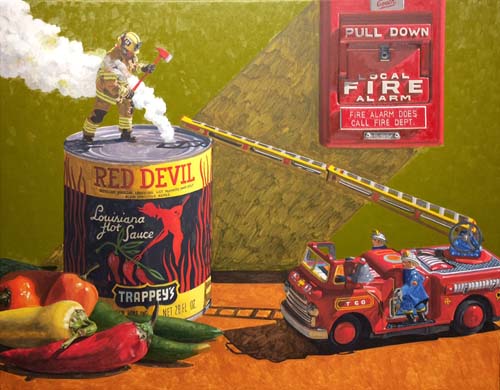
This photo of the overall painting now shows that the sun struck
area of the wall is approximately the same value of the cast
shadow from the fire alarm, telling me that I need to darken the
cast shadow a great deal so that it reads as a shadow.
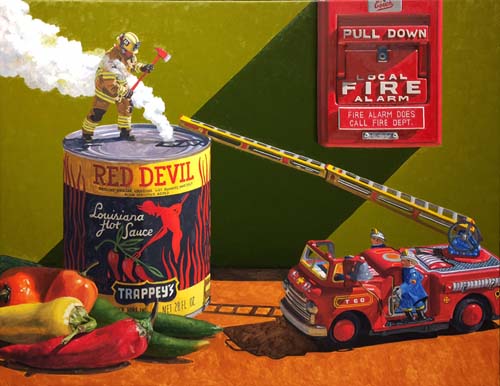
I've painted the cast shadow from the fire alarm, darkening it
so that it makes the light struck areas of the wall look like
they are in the sun. Compare this photo to the one above
for the radical change this shadow makes.
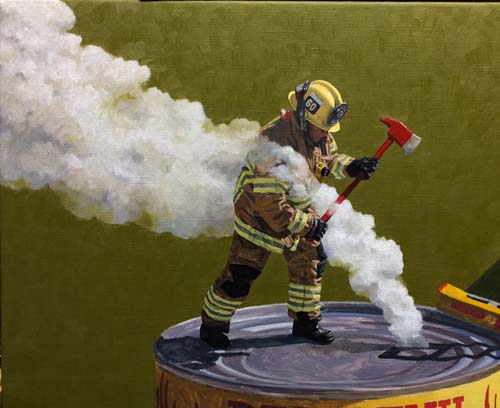
The fireman and smoke are finished.
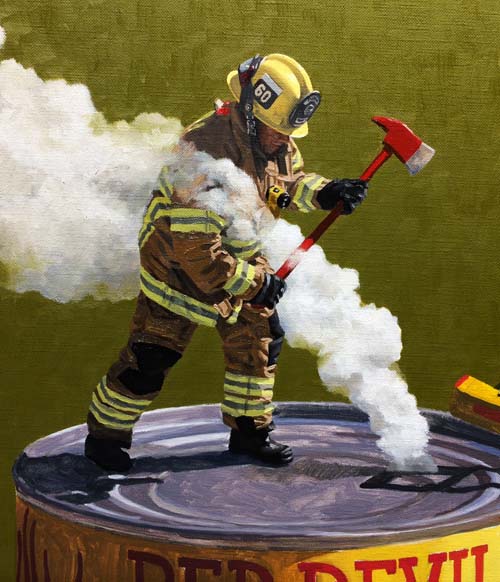
Here's a closer look at the fireman. With the back wall
darkened, the highlights on the fireman's helmet and his suit
really stand out.
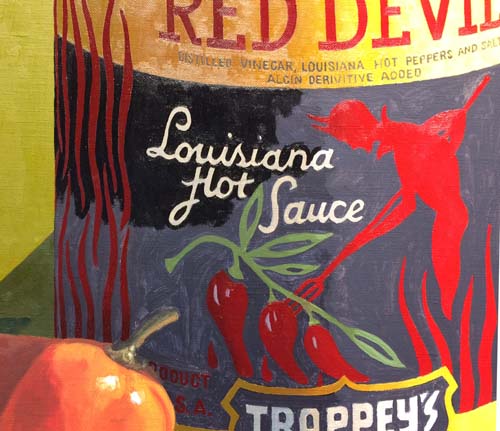
I've started painting the black part of the label, after
completing the yellow and red areas. I painted those two colors
first to help me determine how dark the black needed to be to
give me the value difference necessary to make the yellow and
black look lighter. You can see how much darker I've made the
black as I've started in the upper left area of the label.
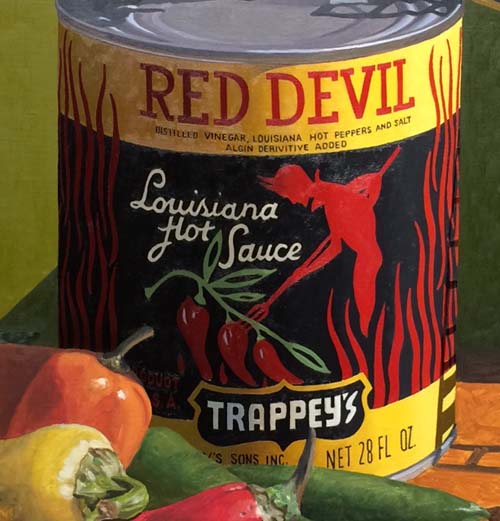
Here is the can with the black completed. The only thing left
will be to paint the white lettering, which is glowing now
because of the increased values of the areas around it.
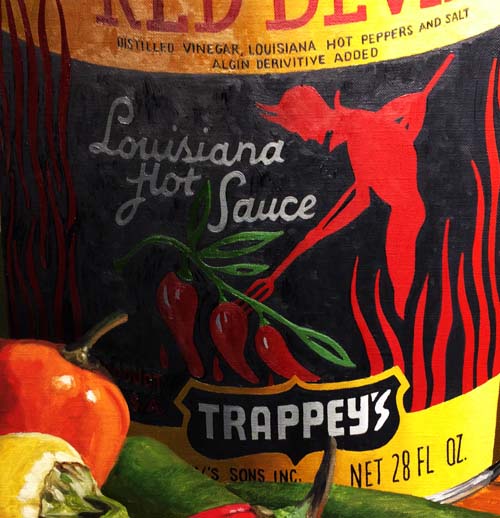
Here is a shot of the lettering,
darkened on the left and blended to a lighter gray/white as it
turns to the light.
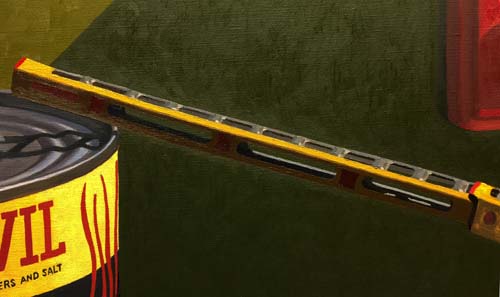
With the alarm, fireman and the can finished, I'll now turn to
the toy ladder fire truck. I'll work from top to bottom,
starting on the extension part of the ladder first. Here is is
completed. Now on to the lower section of the ladder.
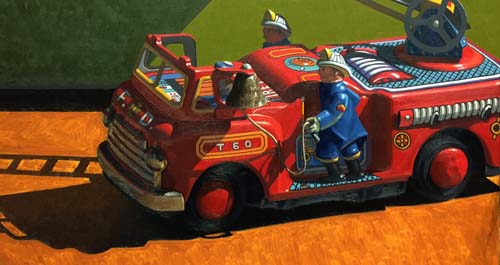
I've moved down the ladder and completed the entire fire engine,
which took many days to get all the detail done with all the
colorful parts of the truck.
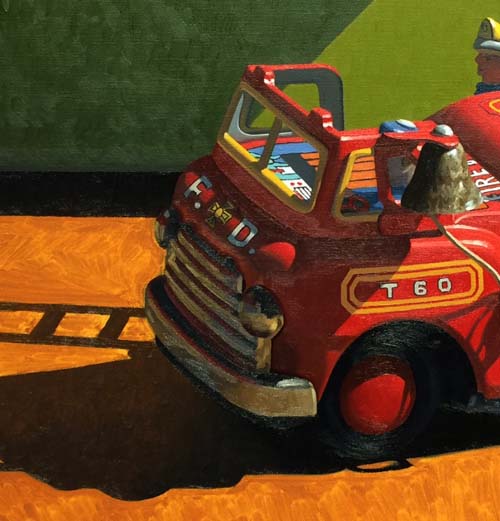
This closeup shows the engine and the shadow under the truck.
Notice how the shadow goes from almost black to a lighter shade
as it moves away from the toy truck. Light has the ability to
bounce into the shadow in the open areas and is blocked out of
the areas closer to the underside of the engine, causing those
shadows to be much darker.
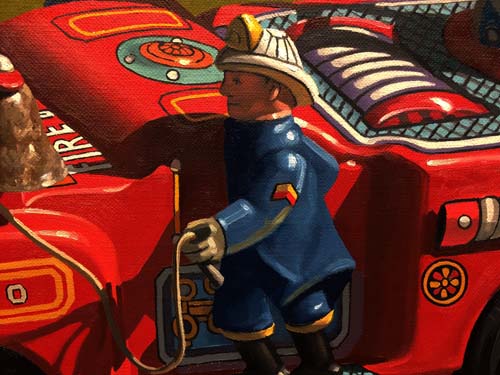
Here is a detail of the fireman that is holding onto the rope
that rings the bell.
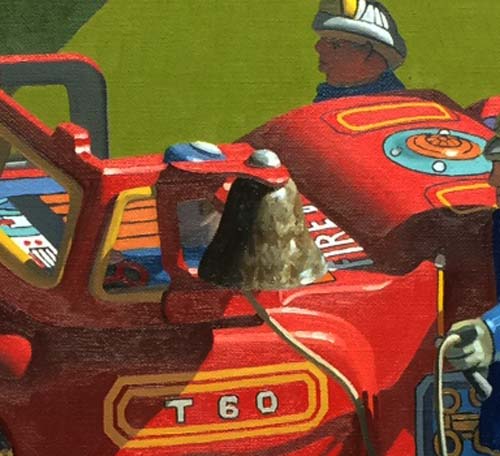
Although I ignored all the scuffed areas of the toy fire truck
and made them look shiny and new, I decided to render the patina
on the bell, with its rust and weathered finish.
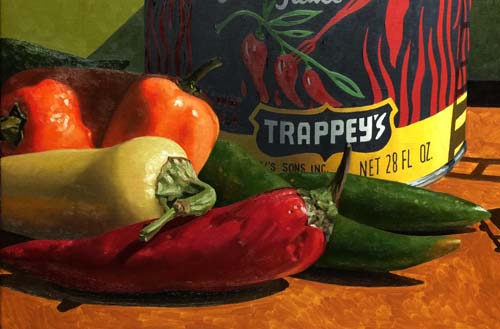
The final grouping of objects has been given its second layer of
paint. One more day of painting the ground under all the objects
and "Canned Heat" will be finished.
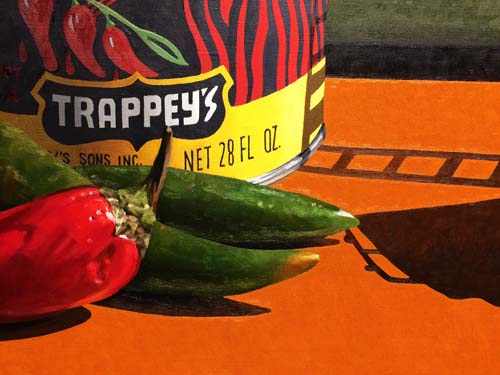
This photo shows the final coat of
paint on the ground.
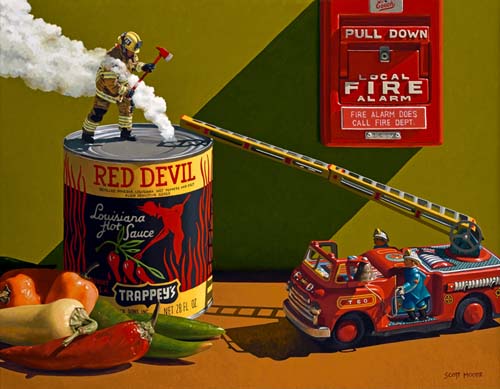
Here is a "Canned Heat."
Thanks for watching!
|