|
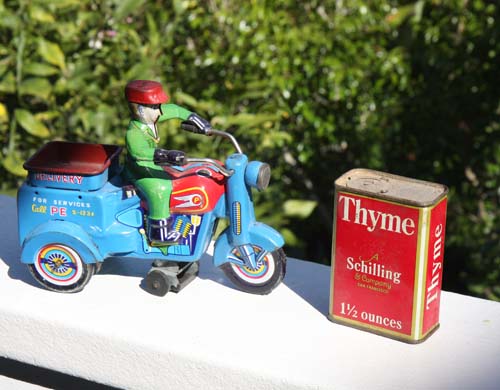
I purchased this 1950's Japanese tin toy with the hopes of using
it in one of my paintings. While studying this delivery
tricycle, I tried to imagine what he could be carrying in his
parcel tray in the back seat. I spotted this Schilling can of
thyme on my shelf and shuffled the word Thyme/Time in and out of
phrases until I landed on "It's About Thyme!"
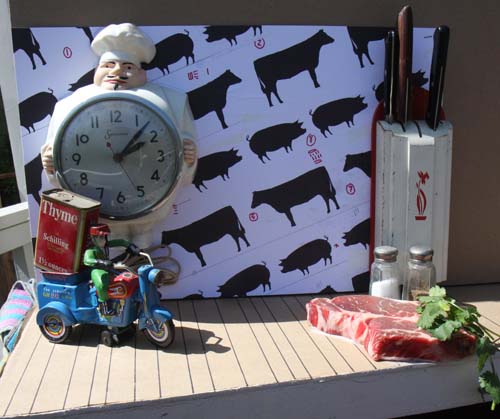
I added one of my favorite clocks, the chef kitchen clock, and
concocted a scene. A chef, ready to cook a steak, was waiting on
the delivery of a can of dried thyme, something that this cook
wanted to spice up this cut of meat.
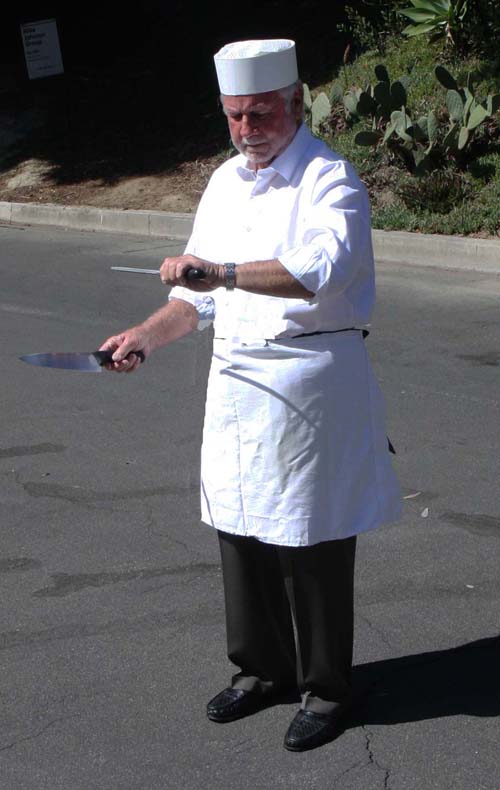
The chef, my friend and golf buddy Bob, looks at his watch,
waiting somewhat patiently for the delivery of his herb. We have
to imagine that this is all pre internet, pre online ordering
and pre Amazon. The chef continues to sharpen his knife as the
delivery man arrives just in thyme...
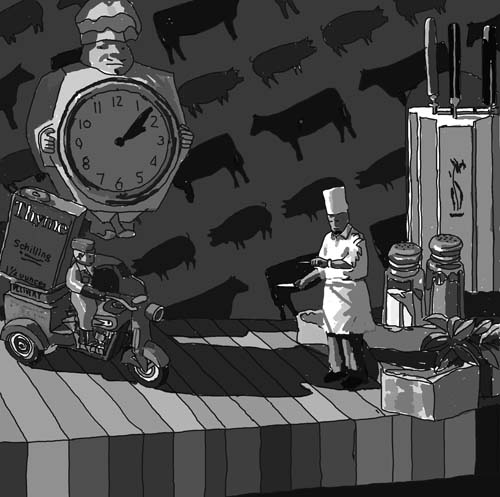
Here is a Photoshop drawing I sketched to show the overall
layout of the image that I will paint on the canvas. Notice that
I have added a vintage knife holder on the wall, a wall covered
in a beef and pork wallpaper.
I'll stretch some portrait linen on 27" x 27" stretcher boards,
and begin drawing "IT'S ABOUT THYME!"
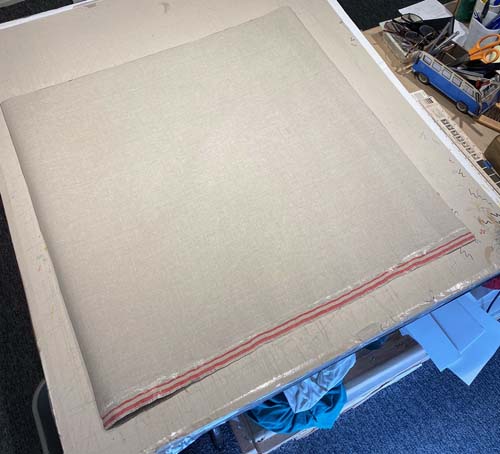
I cut the linen canvas and lay it face down on my table.
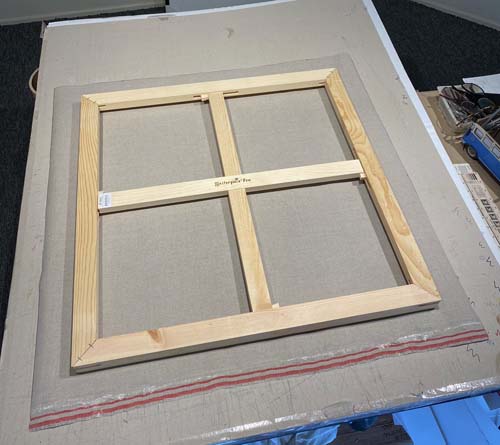
I assemble the stretcher bars and place them face down on the
back of the linen.
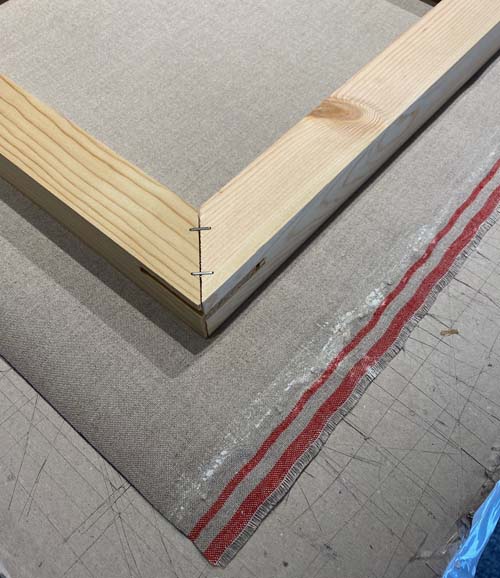
I've cut the linen 3" oversize to give me enough material to
wrap over the edge of the stretcher bars. Notice the red lines
on the edge of the canvas. These markings tell the artist that
they are buying Fredrix Rix Linen, the best available portrait
linen on the market. It is a heavy canvas with the smoothest
surface, allowing me to paint fine details in my paintings.
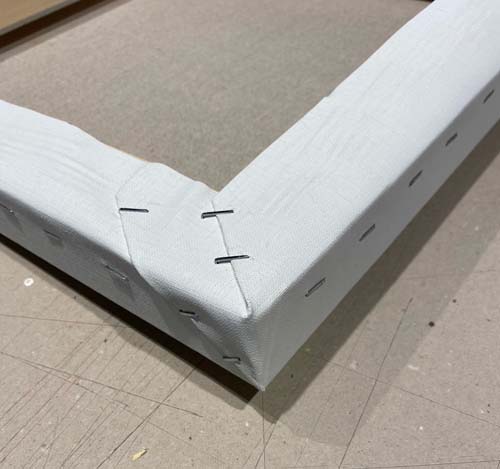
Here's a close up of the linen, wrapped around the back of the
stretcher bars. The staples on the edge of the frame are
the ones that hold the canvas super taught. This firm but
slightly flexible surface provides the perfect receptacle for my
application of oil paint.
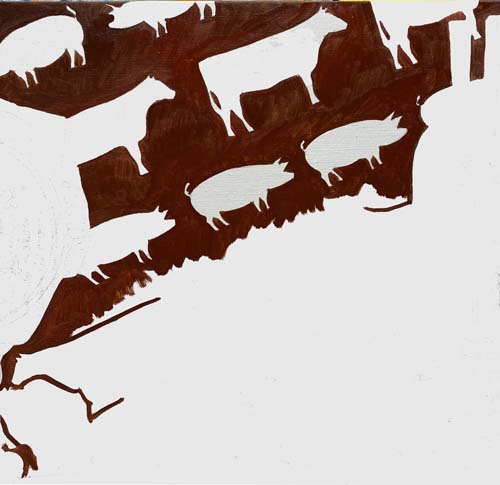
I've spent two days drawing with a #3 pencil on the canvas,
detailing the outlines of all the objects. Beginning with the
wallpaper, I'm applying a mixture of burnt sienna, black and
cadmium red as the background of the pigs and cattle.
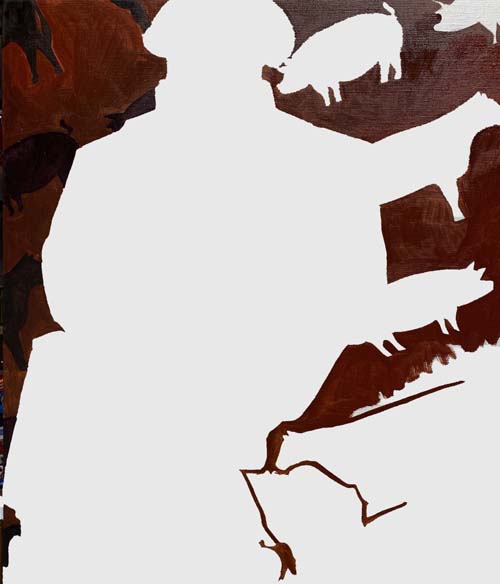
You can see on the left side of the canvas where I have begun to
apply the dark brown of the cows and the dark purple hue of the
pigs. I'm doing this before finishing the brown background color
to make sure it is light enough so the silhouetted animal shapes
are visible.
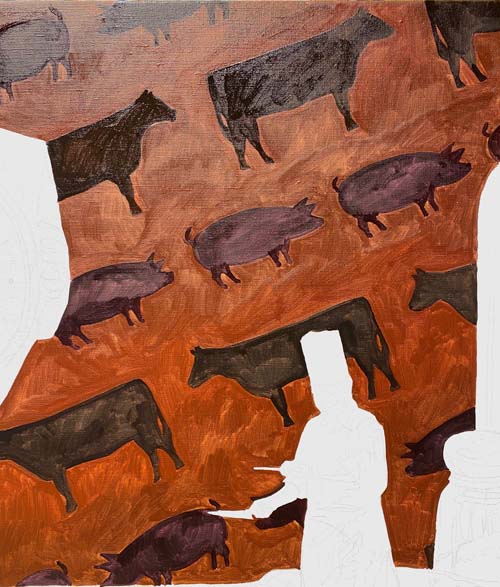
Here's a close-up of the wallpaper pattern, painted with
turpentine thinned oil pigment. This is just the first coat of
paint where I am guesstimating the hue (color) and value
(darkness) of each object.
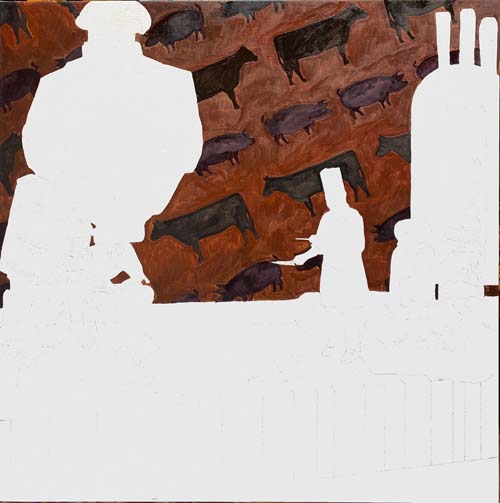
Here's the whole canvas. Painting the wallpaper background first
helps me to choose just how dark to make the foreground objects.
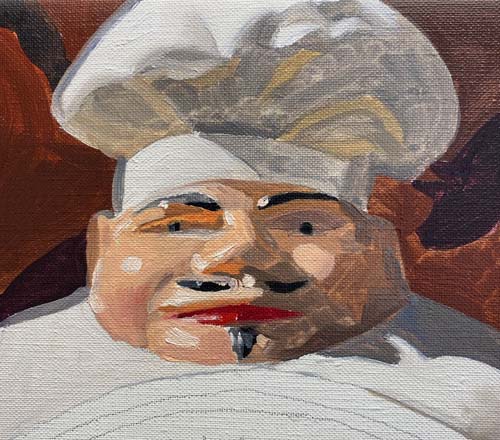
The chef clock is next to be painted. This is a Sessions clock,
sold in the 1950's. Here I've painted in the flesh tones on his
face. Look closely and you can see that the paint is applied
thinly at this point, revealing the watercolor-like brushstrokes
in the shadow area of his face.
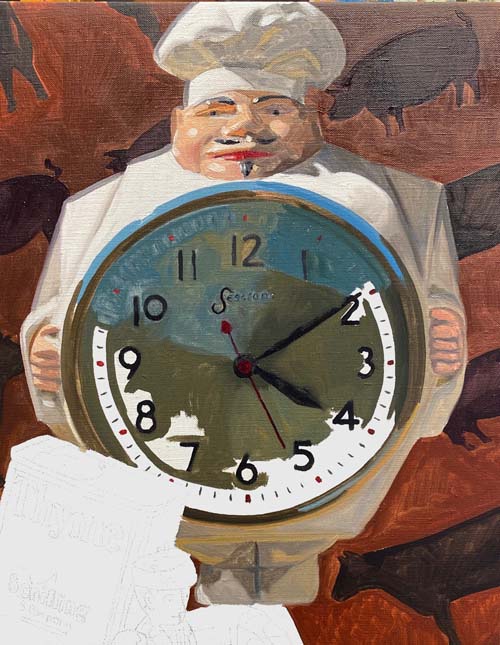
I'm applying the darker paint in the dial area of the clock. The
plastic bezel reflects the area behind me in the photograph. You
can see the cool sky and the distant hillside silhouette in the
abstract reflection.
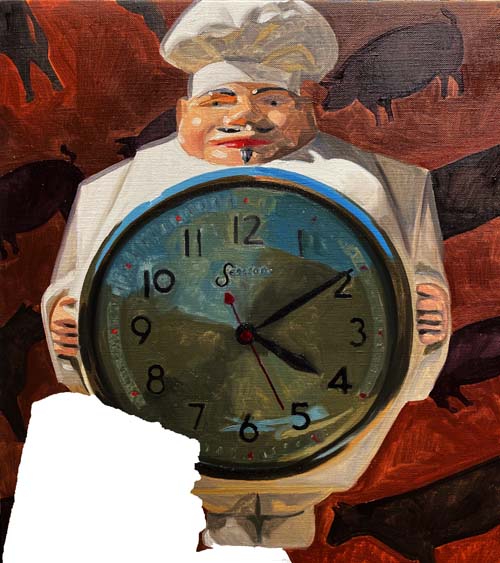
With its first layer of pigment, the clock looks 3-dimensional,
with its light and dark areas shaping the form. The face of the
clock has mixtures ranging from cool thalo blue to cadmium
yellow and burnt sienna with black.
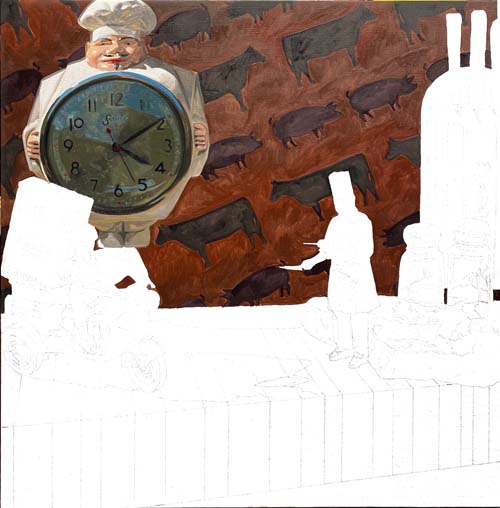
This overall photo shows the positioning of the clock. I'll move
on to the knife rack on the wall next.
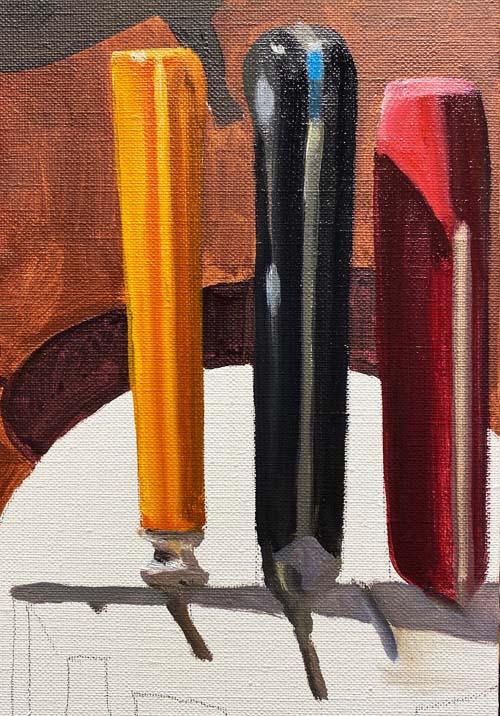
I've added color to the far right knife handle, giving a little
more life to that section of the painting. The grays of the
shadow they cast and the grays of the knife blades is composed
of French ultramarine blue, burnt sienna, and white. The warmth
or coolness of the gray is controlled by using a little more of
the brown or blue when mixing.
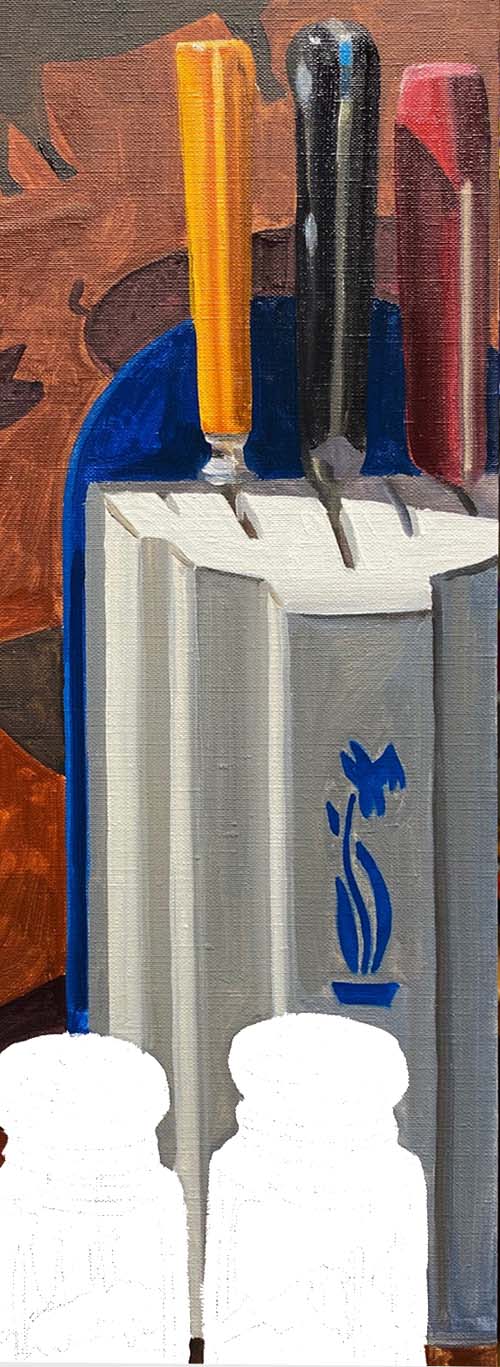
The knife holder is made up of those gray mixtures of pigment
and a thalo blue/black combination for the blue areas of the
wall unit.
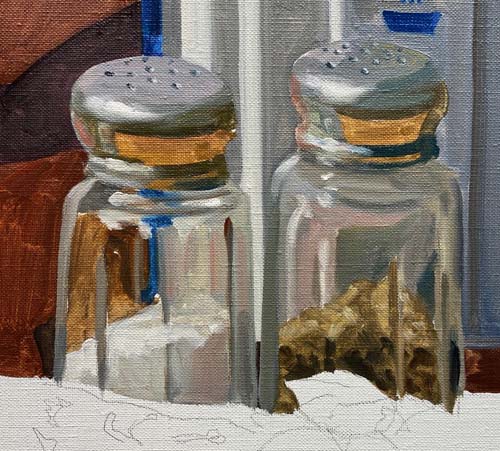
These iconic salt and pepper shakers always add familiarity and
interest to a painting. We have all seen and used them in a
myriad of ways in our lives. Notice how I have positioned them
so that the top of the salt and pepper inside each bottle slant
towards the light source, giving me distinct areas to paint.
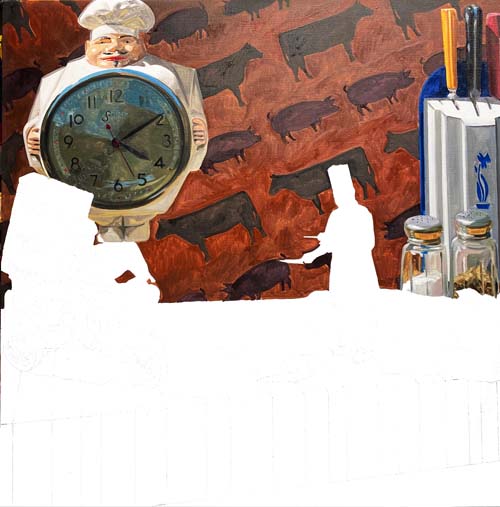
This overall photo of the canvas shows that I have completed all
the background objects and can move forward in the scene.
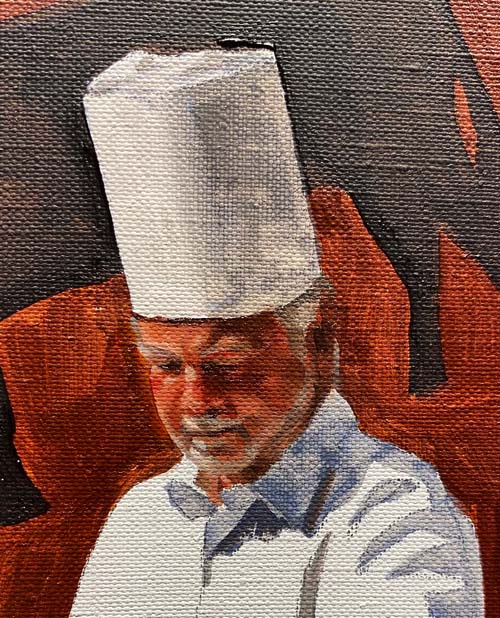
I decided to begin painting the chef (Bob). I've started at his
face and upper torso. These thin layers of paint serve as
guidelines for my final layer which will be more detailed, thick
and expressive.
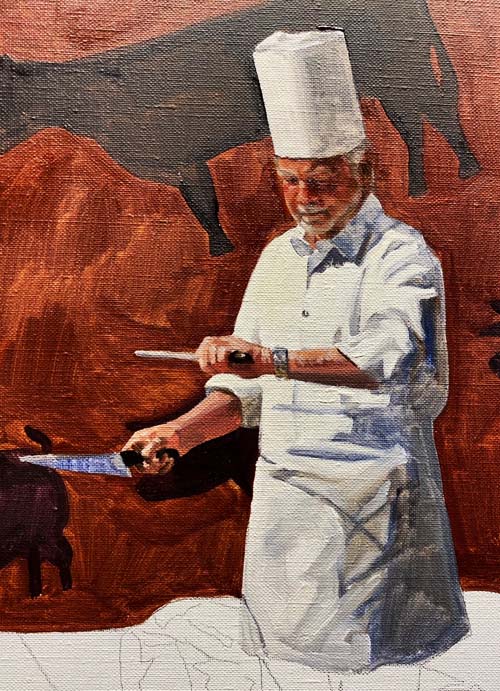
I made it as far as the bottom of the chef's apron, loosely
carving the shadows in both his clothing and on his flesh tones.
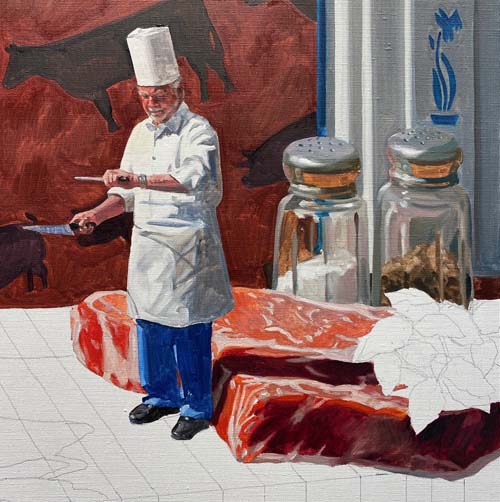
I put legs on Bob this morning and cast his shadow across the
top of the steak. His shadow will continue across the garnish
when I paint that next.
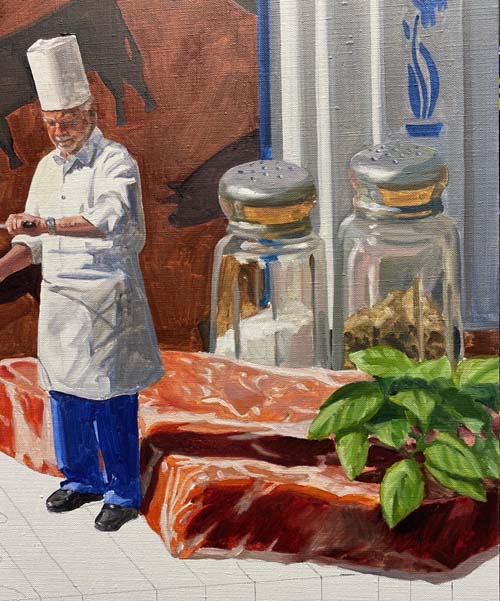
I've added the garnish to the steak. This spot of green helps to
compliment the red of the steak.
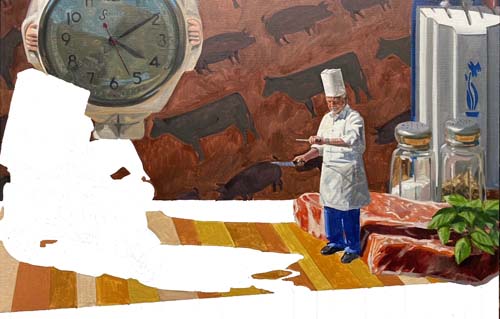
The top of the butcher block is next. I've painted in some warm
strips of wood on the areas where the light or sun lands on the
top of the block surface.
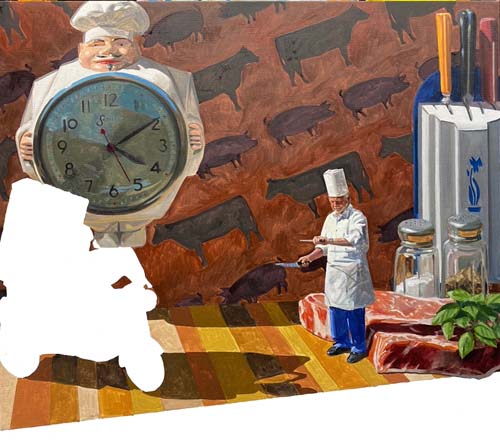
I've mixed a variety of shadow colors so that they separate a
little while still working together as one shadow on the top of
the butcher block.
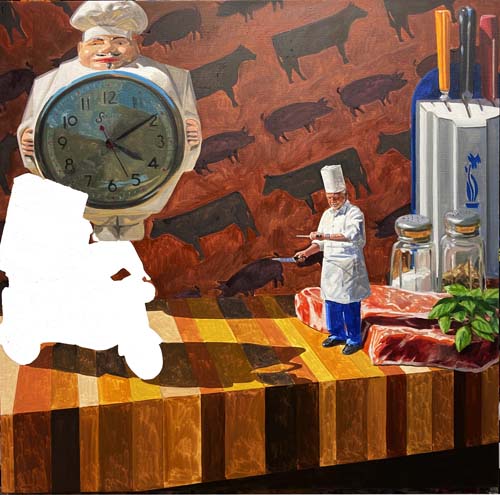
The edge of the butcher block and the dark underside is painted
in with its first layer of pigment. Just the toy and thyme can
is left to paint. When the entire canvas has had a single
application of oil paint, I'll look at the overall coloration
and values and make my final decisions for the last layer of
pigment.
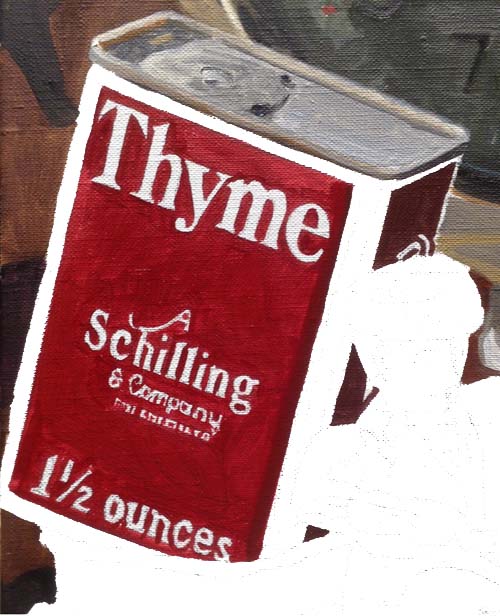
I used a range of grays, mixed from French ultramarine blue,
burnt sienna and white, to shape the top of the thyme can. A
combination of alizaron crimson, cadmium red and white makes up
the hue for the red area of the can.
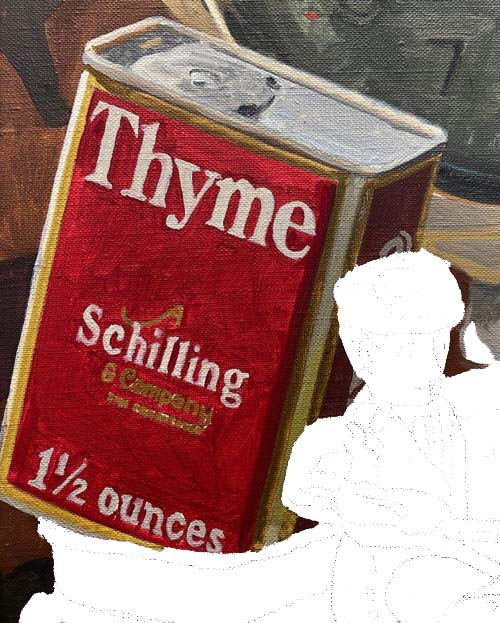
The other details of the can are added, giving it a
3-dimensional look.
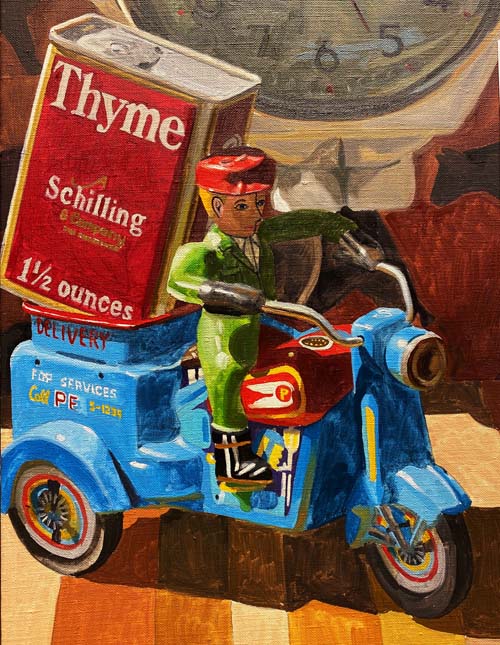
The motor scooter is painted with about 75% of its detail, the
other 25% will go in when I apply the final layer of paint.
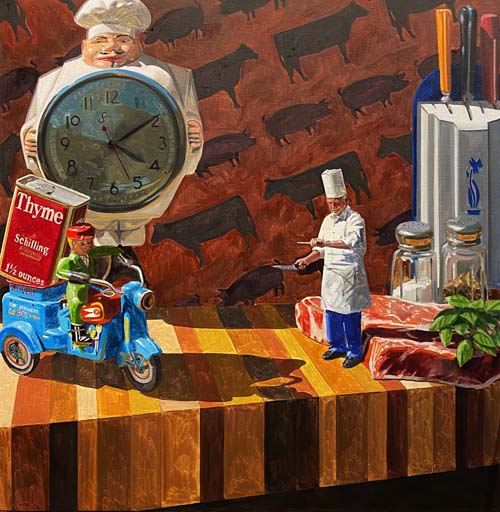
"It's About Thyme"
is at the halfway point now. All areas of the canvas have been
given one layer of turpentine-thinned pigment. After studying
the results, I'll make my adjustments and begin the final layer
of oil paint.
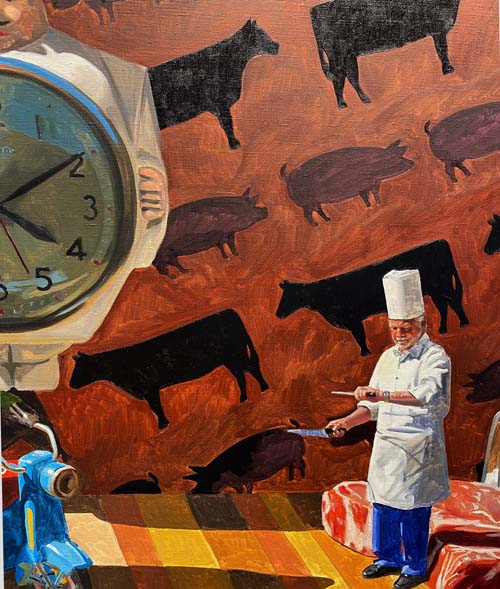
The final layer of oil paint is just what it sounds
like...final! I use this application of paint to nail down the
proper hue (color) and the proper value (darkness). The value is
the most important, as it creates dark areas that make the light
struck objects 'pop'. To begin this second layer, I've chosen
the back wall as my starting point. The cows and pigs on the
wall looked dark when I painted them on to the white canvas, but
became lighter as other objects were painted around them. Notice
how dark the burnt umber and black cows are in this photo. They
are finished and I'm moving onto the pigs with a deep purple
hue.
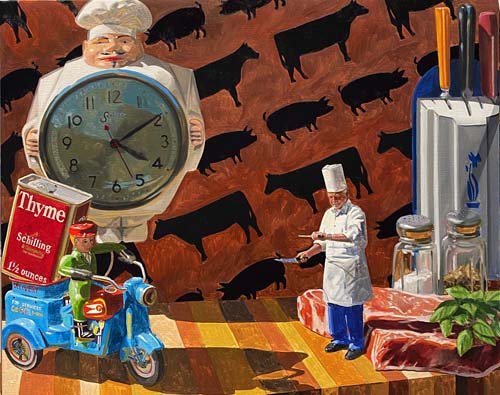
In this photo, all the animals on the wall are completed with
their final chosen color and value. This will tell me how dark
to make the brown surrounding color.
I've just completed the brown background color on the wall. It
is a mixture of burnt sienna and black. If you look closely, you
will see that I gradually darkened the color as it gets closer
to the bottom of the wall.
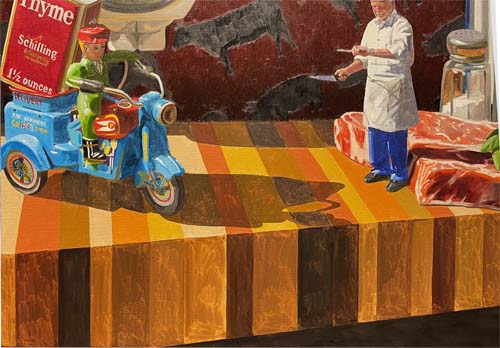
I spent the day mixing and applying the final layer of paint on
the top surface of the butcher block.
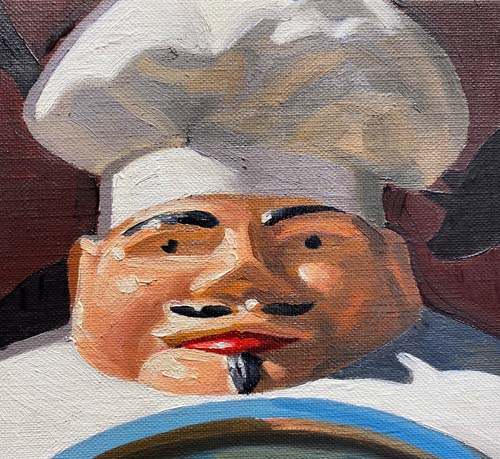
The clock requires a lot of work. I not only need to render the
chef character, I need to be precise about the roundness of the
clock dial and the exactness of the numbers. This up close photo
of the chef's face shows how the final layer of paint has
character with its thick strokes of pigment.
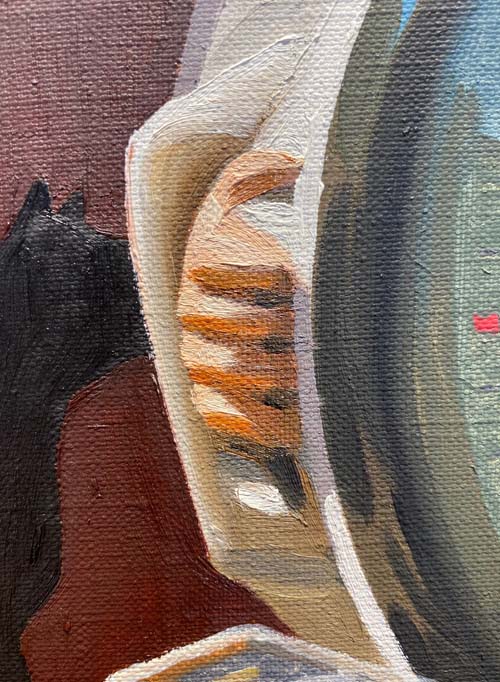
Here's a detail of the chef's hand, as it appears to hold the
clock by the bezel.
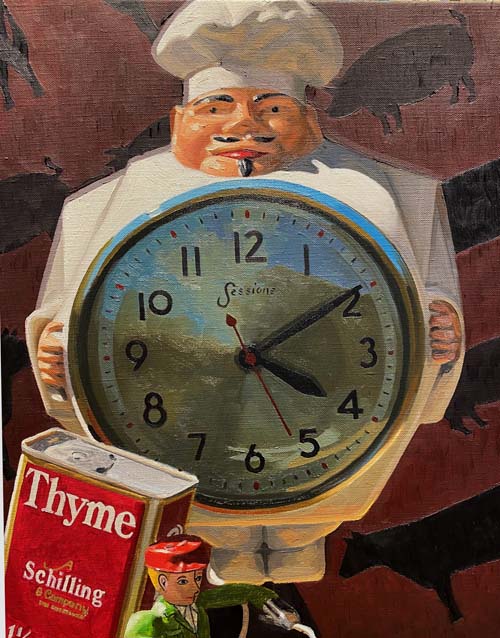
I've completed the clock. The face of the clock is a mixture of
thalo blue, French ultramarine blue, burnt sienna, cadmium
yellow and white. Black was added for the darkest areas. I've
added some warm tones to the bottom of the chef's legs, showing
the reflected light from the butcher block top.
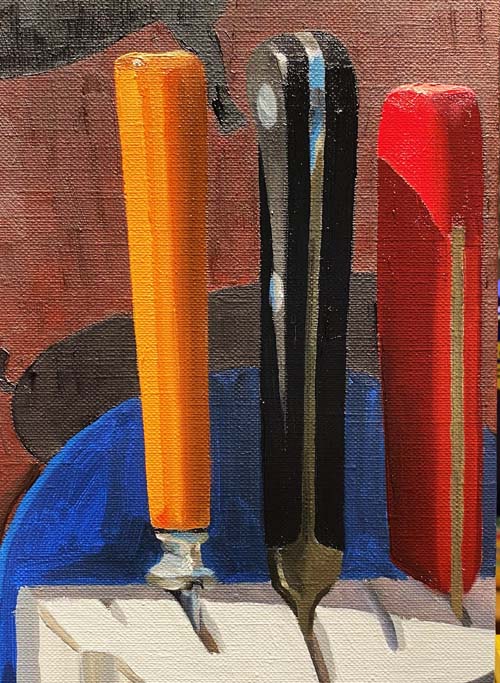
The knives are finished. Notice the dull look of the background
wall. The pigments used to paint the cow and pig motif dry much
lighter and will regain their rich value when I give them a
light coat of retouch varnish.

Everything on the back wall is finished. The knife rack has some
great light and shadows, giving this portion of the painting
some added interest.
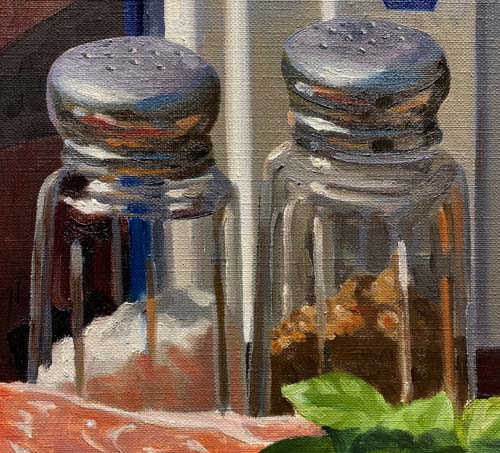
The salt and pepper shakers are painted in with their tube thick
layer of oil pigment.
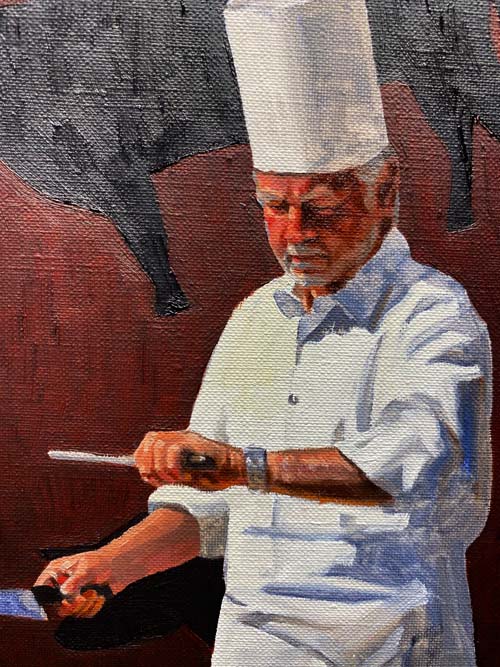
Bob, the chef, is the subject for final painting today. Here I
have applied the thick passage of oil on his face and arms.
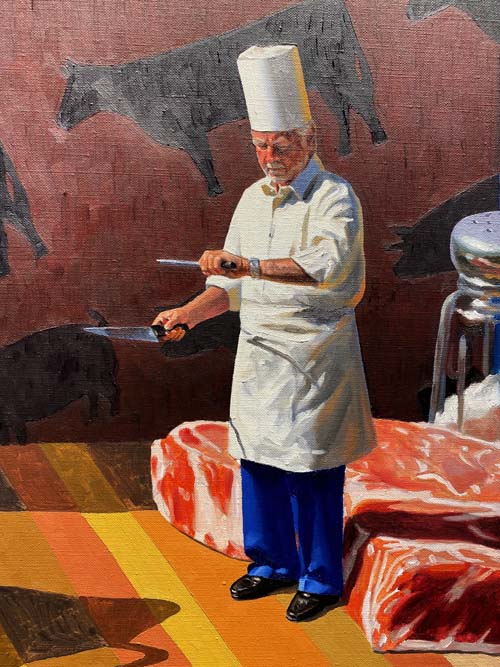
I completed Bob by putting rich, thick layers of oil on his
clothing and the objects in his hands. Look into the shadows of
his shirt and apron and you will see some warm reflected light
that has bounced into this area from the steak and the knife
holder.
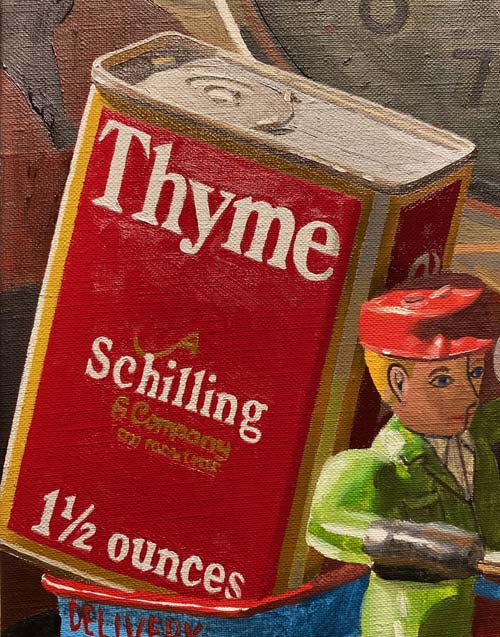
I've moved to the left side of the painting, working on the can
of Thyme. When applying the final layer of paint, the slow
drying time and the creamy consistency of the pigment allows me
to put in all the subtleties of every area. Look at the white
stripe in the shaded area of the can. It starts out as a medium
dark cool gray at the top of the stripe, transitions into a
bright warm greenish gray around the toy man's shoulder and then
turns into a slightly darker blue gray as it goes into the metal
tray on the motorbike.
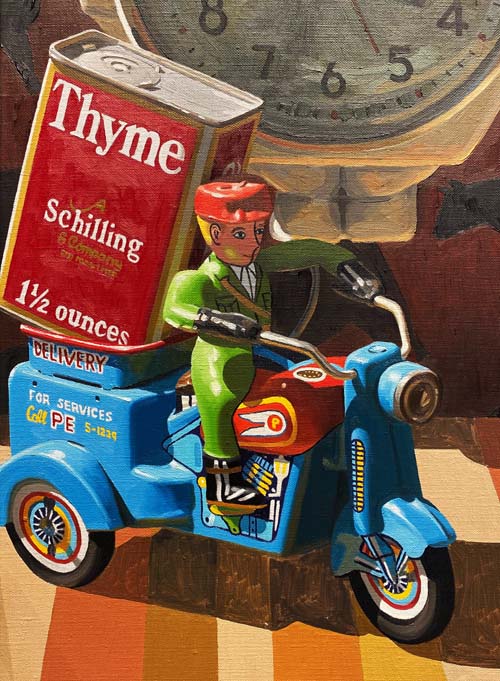
The human figure is always the biggest challenge in my
paintings, but some of the tin toys I've rendered have tried my
patience and steady hand. This delivery trike was all of that
and more. Lots of fine detail and hard work.
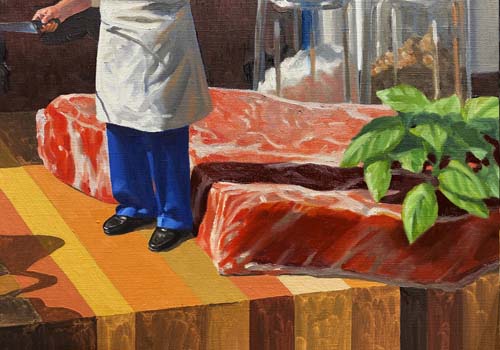
"The steak is done!" Actually, it is very rare! The garnish is
next.
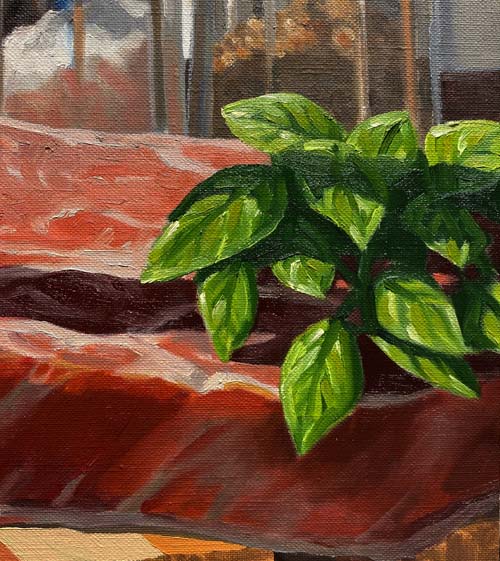
The basil helps explain the cast shadow from the chef, while
adding some complimentary color to this side of the painting.
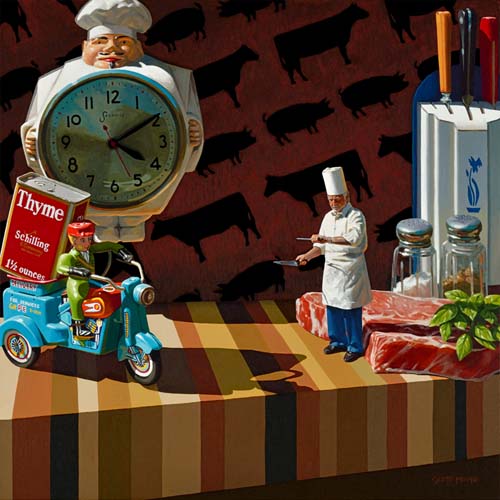
I've painted all of the remaining areas of the butcher block.
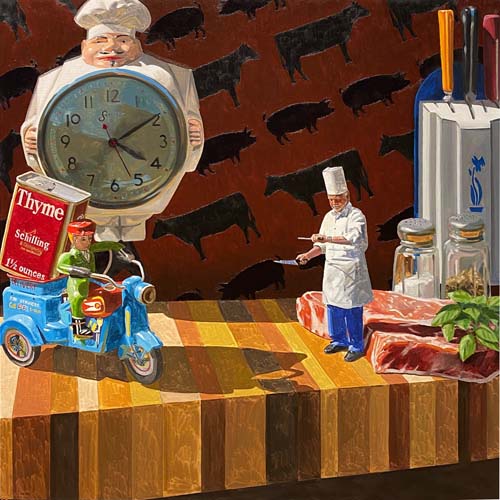
"It's About Thyme!"
is finished!Here is a photo of the entire canvas.
|